Blog engine updated!
As of March 1st 2019, I have changed my blog engine from a dynamic website to a custom-built static site generator. Read more →
Whenever I'm writing a new blog post, I would write it using HTML on my text editor i.e. using Sublime Text and copy-paste the source code into my blog engine and hit "Submit" and that was really annoying.
You might be thinking to yourself as to why I'm putting myself through such a tedious process to write a blog article when there are several WYSIWYG text editor plugins.
Truth is, I have to admit that I was lazy and I cared a lot about writing my blog articles but never cared about the tool I had built that to write my blog articles, so I decided to upgrade it and make it even better than what it was previously!
Why rewrite it?
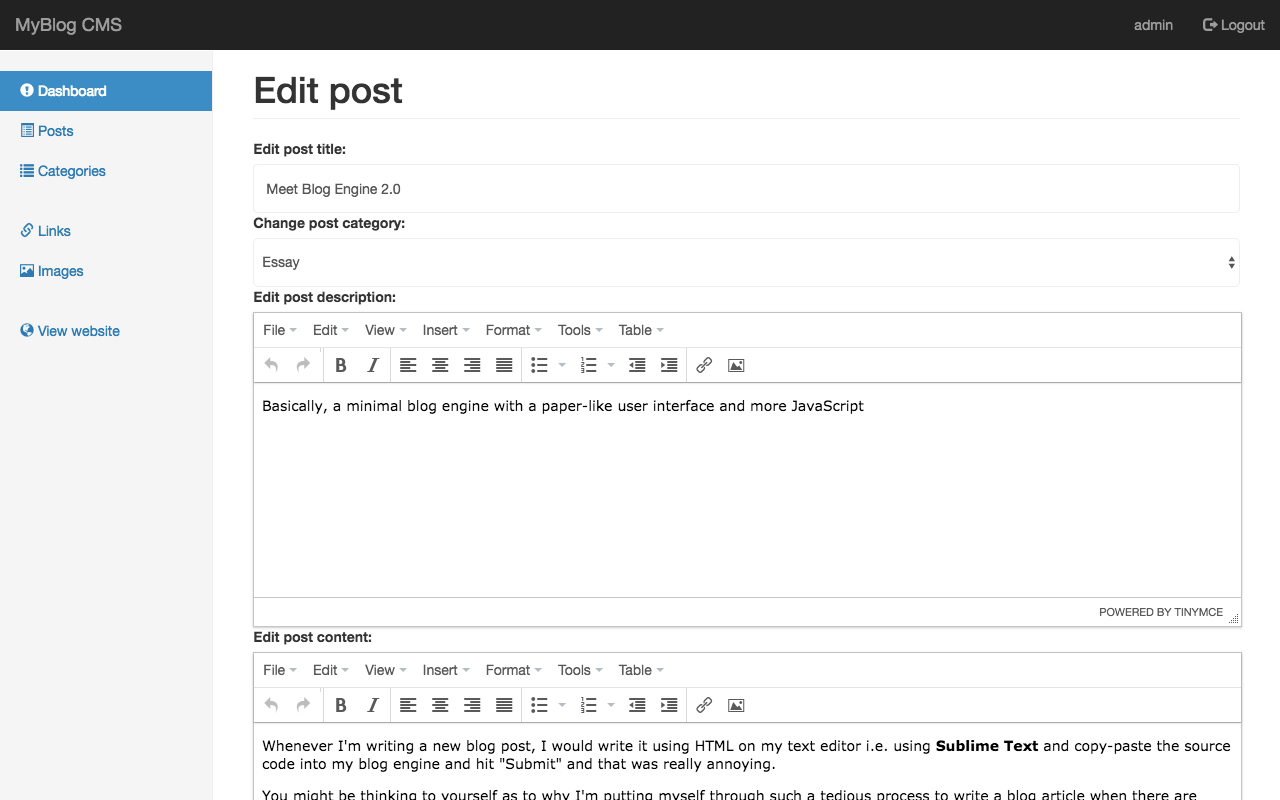
For starters, the old one had a clunky and pretty much boring user interface. I used CKEditor text editor plugin but to be honest, I rarely used any of it's features as I was just directly copy-pasting my source code from Sublime Text to the text field box.
Over time, it became slow due to spaghetti code and it required a lot of code refactoring as I wrote this code during my earlier days of programming by following various programming tutorials.
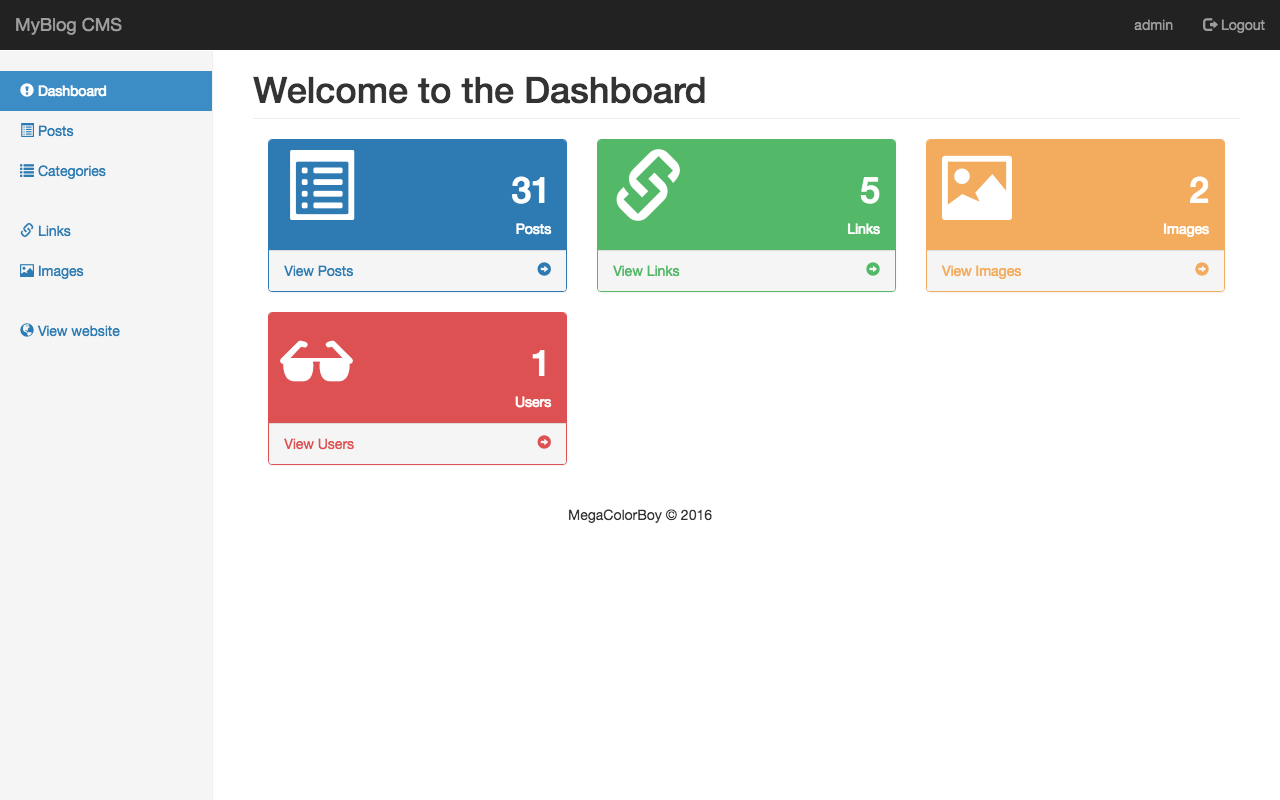
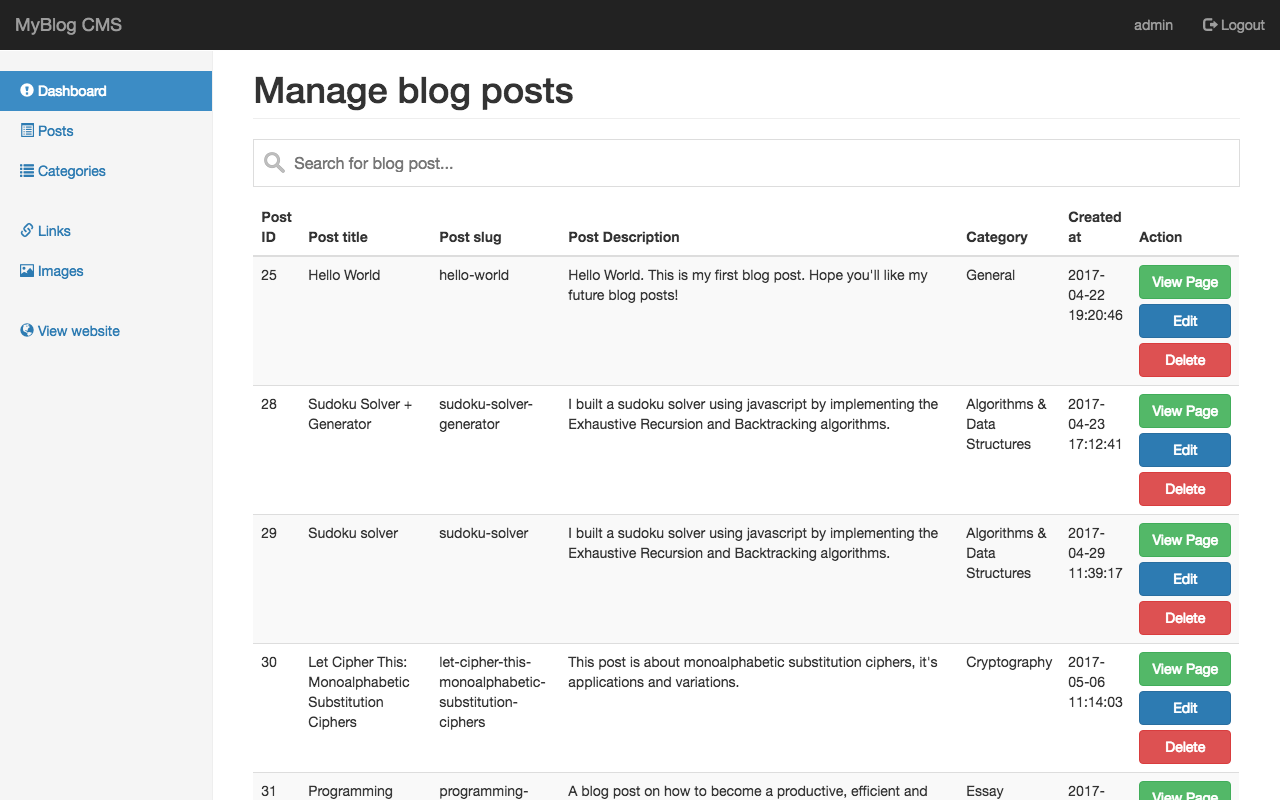
Here's some screenshots of the old blog engine:
And, last but not the least, it didn't make me feel like I was writing a blog but rather felt like writing HTML code in a more tedious manner.
Time for a change!
For the past two weeks, I have been working on a new version of the blog engine and I had decided to give it some new features like:
- Clean and paper-like user interface by taking inspiration from Google's Material Theming Design guidelines
- Minimal text editor built from scratch that can be extensible in the future
- Auto-save article every minute
- Emojis, LaTeX syntax, JavaScript files and IFRAME windows
- Live search bar to filter articles by keywords or categories
In case, you're wondering, I built this using vanilla JavaScript and a custom-built MVC PHP framework with a MySQL database.
Here's some screenshots of the new blog engine:

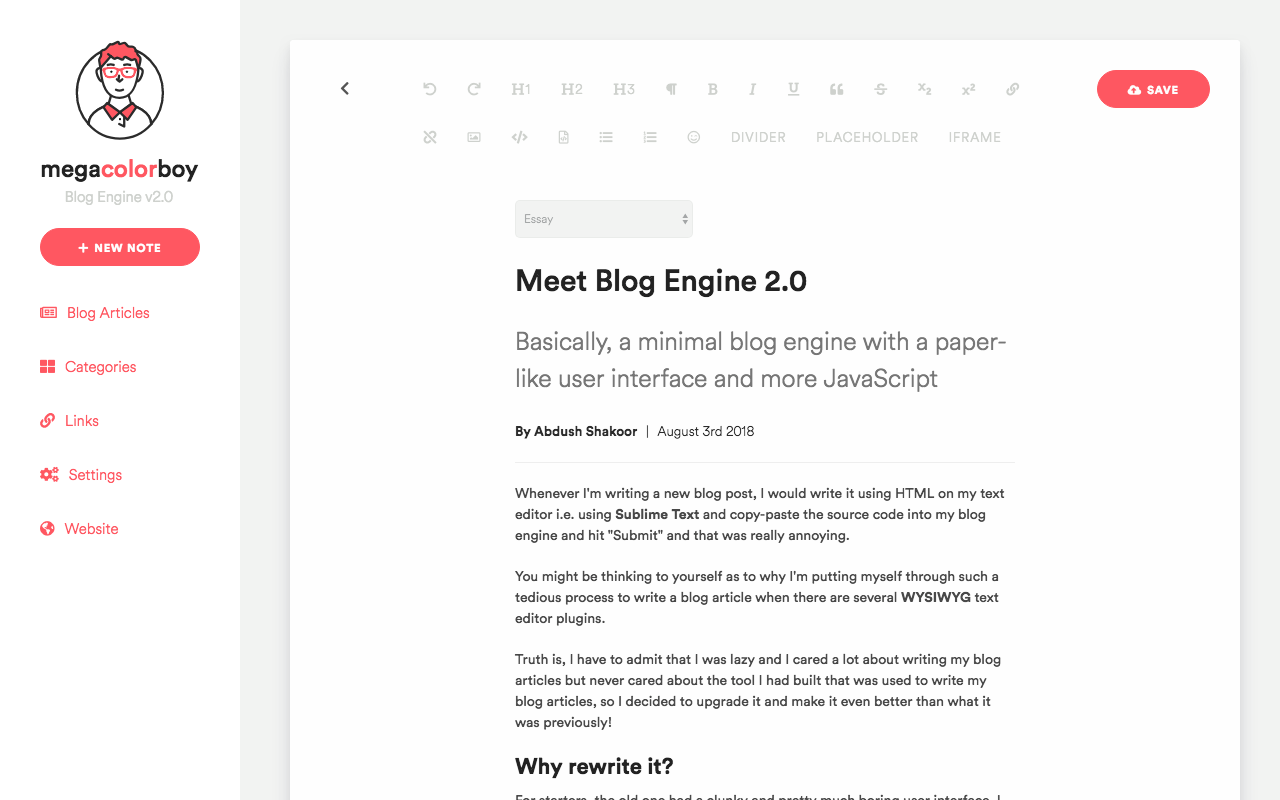
What I really wanted to achieve with the new blog engine is that I want to give myself an enjoyable writing experience besides, this blog post was written from the new blog engine.
Well, it's stable as of yet but I need to run a few tests and build more functionalities before deploying it on my production server and finally saying good-bye to the old version.
Hope you liked reading this article!